


How To Incubate Chicken Eggs
Egg incubation is a fascinating process that transforms a simple egg into a living chick.
For breeders and hobbyists, mastering this art is crucial, as successful incubation ensures healthy hatchlings and strengthens breeding programs.
This comprehensive guide aims to equip you with essential knowledge and practical tips for effective egg incubation, helping you navigate each stage with confidence and skill. Whether you’re a seasoned expert or a curious beginner, this guide will enhance your understanding and improve your hatching results.
Understanding the Incubation Process
Natural vs. Artificial Incubation:
Natural incubation occurs when a broody hen sits on her eggs, providing warmth and humidity through her body heat.
This method offers several benefits, including the hen's instinctive care and protection, which can lead to a high hatch rate when conditions are right. In contrast, artificial incubation involves using incubators to replicate the optimal conditions for egg development.
This method allows for precise control over temperature and humidity, making it a reliable alternative for those without access to a broody hen.
Why Incubate Eggs Artificially?
Artificial incubation is advantageous due to its higher hatch rates and greater control over the incubation environment.
By regulating temperature and humidity, breeders can create ideal conditions for developing embryos, reducing the risk of failure.
Additionally, artificial incubation is scalable, enabling the incubation of larger batches of eggs, which is particularly beneficial for commercial breeders aiming to maximise production.
How To Identify Fertilised Eggs
Using fertilised eggs is crucial for successful incubation. Fertilised eggs contain embryos that have the potential to develop into chicks.
To identify fertilised eggs, breeders can use candling, which involves shining a bright light through the egg to observe the contents.
Signs of fertility include visible veins and movement within the egg. Physically inspecting eggs for cracks or defects before incubation is also essential, as damaged eggs are less likely to hatch successfully.
Ensuring the use of high-quality, fertilised eggs sets the foundation for a successful hatching process.
How To Choose The Right Egg Incubator
Forced-Air vs Still-Air Egg Incubators
When selecting an incubator, you’ll primarily encounter two types: forced-air and still-air incubators.
Forced-air incubators use a fan to circulate warm air evenly throughout the chamber, providing consistent temperature and humidity levels. This type is generally more efficient and allows for higher hatch rates.
In contrast, still-air incubators rely on natural convection to distribute heat, making them simpler but less effective for maintaining uniform conditions. They are often more affordable and easier to use for beginners.
Temperature Control, Humidity & Egg Turning
Regardless of the type, it’s essential to choose an incubator with reliable temperature control to create the optimal environment for developing embryos. Additionally, humidity regulation is crucial, as different stages of incubation require varying humidity levels. An egg-turning mechanism is also important; it automates the turning process, ensuring embryos develop properly and reducing the risk of sticking to the shell.
Where to Buy Incubators?
You can find incubators at various reliable sources, including local farming supply stores, agricultural fairs, and reputable online retailers.
Online platforms often provide a broader selection and customer reviews, helping you make an informed choice that suits your incubation needs.
How To Prepare for Incubation
Setting Up the Incubator
Before use, it's vital to thoroughly clean and sterilise the incubator to prevent bacteria from affecting the eggs. Use a mild disinfectant or a bleach solution, ensuring all parts are dried completely.
Place the incubator in a stable environment with no drafts or temperature fluctuations, as even minor changes can affect the incubation process. Avoid placing the incubator near windows or heating vents.
How to Choose The Right Eggs For Incubation
Select fresh, fertile eggs, avoiding any that are cracked, misshapen, or dirty. Eggs should ideally be less than seven days old for the best hatch rates.
Store eggs in a cool, stable environment (ideally 10–15°C) with the pointed end facing downwards. Ensure they are turned at least once a day before incubation to keep the embryo centered and healthy.
How To Manage Incubator Temperature & Humidity
Ideal Incubator Temperature Settings
Maintaining a steady temperature of 37.5°C (99.5°F) is crucial for proper embryo development. If the temperature drops too low, the development slows down, leading to delayed or weak chicks.
On the other hand, excessively high temperatures can cause overheating, resulting in deformities or even death. Consistency is key to ensuring healthy hatching.
Controlling Incubator Humidity:
Humidity plays a vital role in preventing moisture loss from the eggs. During the first 18 days, aim for 45-50% humidity.
In the last three days, increase humidity to 65-70% to support the chicks as they prepare to break through the shell.
You can adjust humidity by adding water trays inside the incubator or placing sponges to increase moisture levels. Regular monitoring is essential to ensure the correct balance.
How To Turn the Eggs During Incubation
Why Is Egg Turning Important?
Turning eggs is essential to prevent the embryo from sticking to the shell and to ensure even development. Without turning, the embryo could adhere to one side, leading to developmental problems and possibly fatal outcomes.
Manual vs. Automatic Egg Turning
If not using an automatic turner, eggs must be turned manually at least three times a day. This ensures that the embryo moves and develops correctly.
For even turning, marking each egg with an “X” on one side and an “O” on the other helps ensure proper rotation.
Why Is Egg Candling Important?
What is Egg Candling?
Candling is the process of using a bright light to check for embryo development inside an egg. It allows you to monitor the growth of the embryo and assess whether the egg is fertile.
When to Egg Candle?
Candling is typically done on Day 7, Day 14, and Day 18 of the incubation period. These intervals allow you to track the embryo's progress and remove any non-viable eggs.
How to Egg Candle?
Hold the egg up to a bright light in a dark room to see veins or movement inside the shell, indicating healthy development.
What To Do During The Egg Incubation Lockdown Period?
What is the Lockdown Period?
The lockdown period refers to the final three days of incubation when eggs should no longer be turned. This is crucial as the chicks position themselves for hatching. Disturbing the eggs during this time can affect their ability to hatch.
Final Lockdown Period Preparations
During lockdown, increase humidity to 65-70% to soften the eggshell, helping the chicks break through. It's vital not to open the incubator during this period, as it can cause a sudden drop in humidity, which may prevent successful hatching.
What To Do During Egg Hatching?
Signs of Egg Hatching
As hatching begins, you’ll notice external pipping, where the chick breaks the outer shell with its beak. Movement inside the egg is another clear indicator that hatching is imminent.
Hatch Day Care
Allow chicks to hatch naturally without interference, unless they are struggling. After hatching, leave them in the incubator to dry off and regain strength.
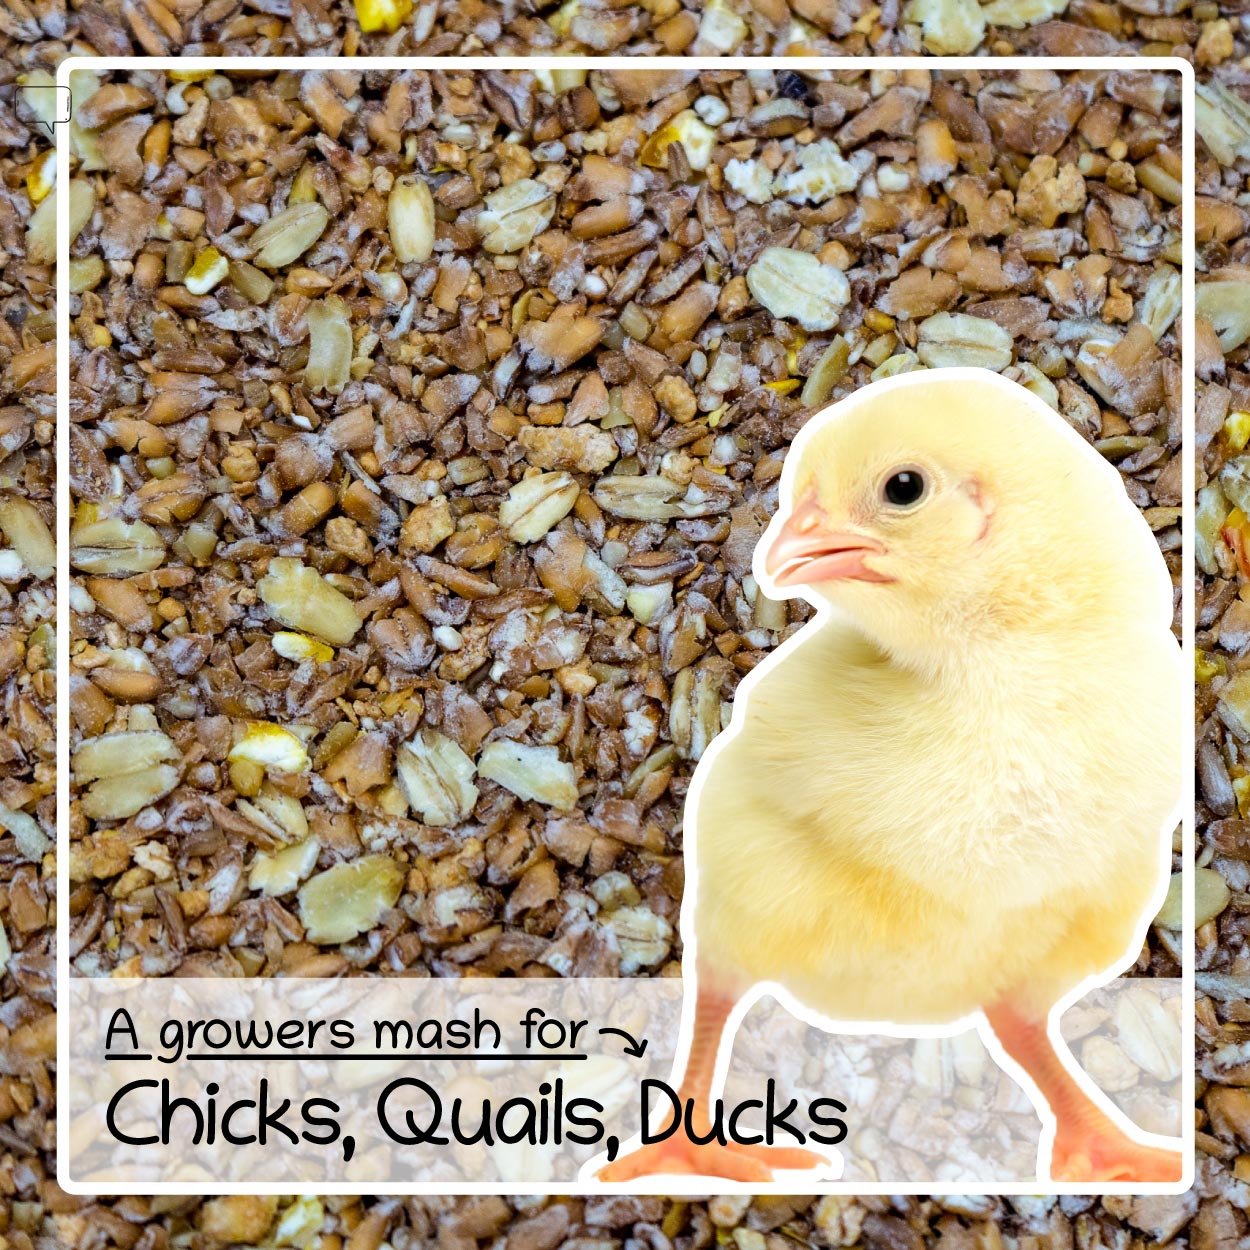
Once they are fully dry, transfer them to a warm brooder, where they can adjust to life outside the egg safely and comfortably.
Common Egg Incubation Problems and Solutions
Egg Temperature Spikes or Drops
Fluctuations in temperature can significantly affect hatch rates. Prolonged exposure to low temperatures may result in underdeveloped embryos, while high temperatures can cause deformities. To manage, ensure the incubator is placed in a stable environment and regularly monitor the temperature.
Egg Humidity Issues:
Signs of low humidity include chicks being unable to break out of the shell, while high humidity may lead to drowned embryos. Adjust levels using water trays or sponges.
Poor Egg Hatch Rates
Poor hatch rates can stem from fertility problems, improper egg storage, or incubation errors. To improve, ensure proper egg selection, maintain consistent conditions, and follow best incubation practices.
Each incubation cycle is a learning experience whether facing common issues like temperature fluctuations or perfecting egg selection.
By carefully following the process and adjusting based on your observations, you’ll continually improve your hatching results, leading to healthier chicks and more successful outcomes over time.
Leave a comment
This site is protected by hCaptcha and the hCaptcha Privacy Policy and Terms of Service apply.